I’m a Dollar Tree Shopper and I Renovated My Kitchen for $30: “So Much Brighter”

Many people assume they need to have thousands of dollars to renovate their homes—especially if they want to upgrade their kitchen. But one woman is trying to disprove that notion. Lifestyle influencer Camryn Love posted a video to her TikTok account @camryn.love showing how she was able to give her space a new look using just one product from Dollar Tree.
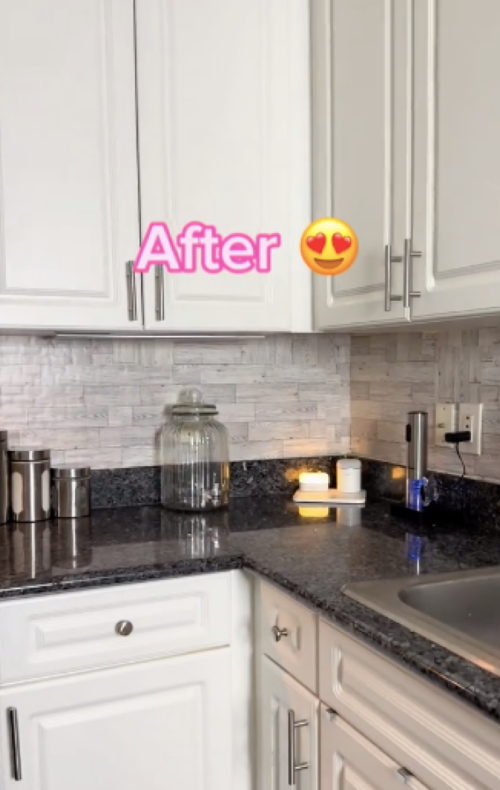
“This renovation was under $30 & made my [kitchen] look so much more brighter,” Love captioned her video.
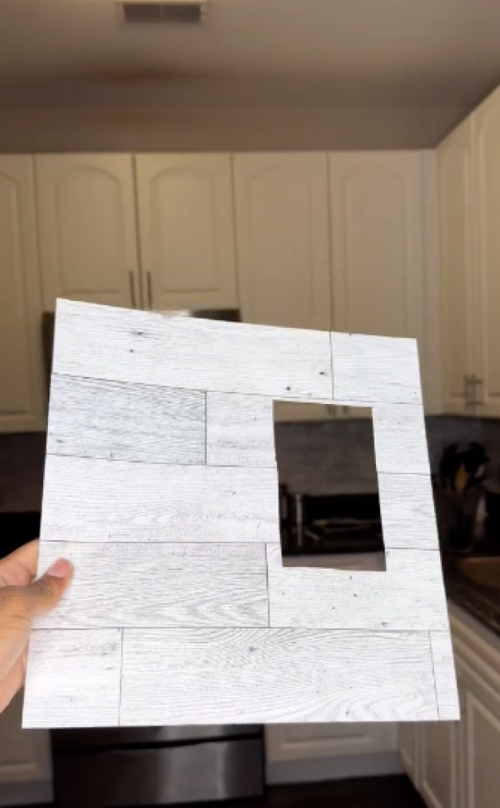
For the remodel, Love gave her kitchen a new backsplash with peel-and-stick wallpaper. She used Main Street Wall Creations Gray Distressed Wood Wall Stickers, which she bought from Dollar Tree for $1.25 a pack.
“Home improvement has never been easier or less expensive! If you like a home with a rustic chic look then you’ll appreciate these easily removable wall stickers [that] resemble distressed wood,” the product listing on Dollar Tree’s website reads. “They are so easy to work with and can be applied to almost any surface.”
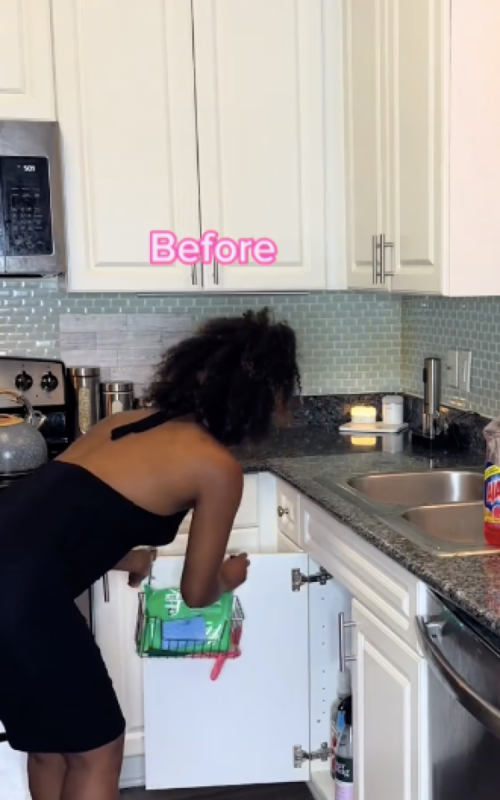
If you’re not sure how to utilize these stickers, Love also showed the before-and-after process of her kitchen transformation. Read on to discover more about the exact steps this Dollar Tree shopper used for her budget-friendly renovation.
RELATED: I’m an Interior Designer and Just Bought 11 Luxe Decor Items at Dollar Tree.
1
Pick your tiles.

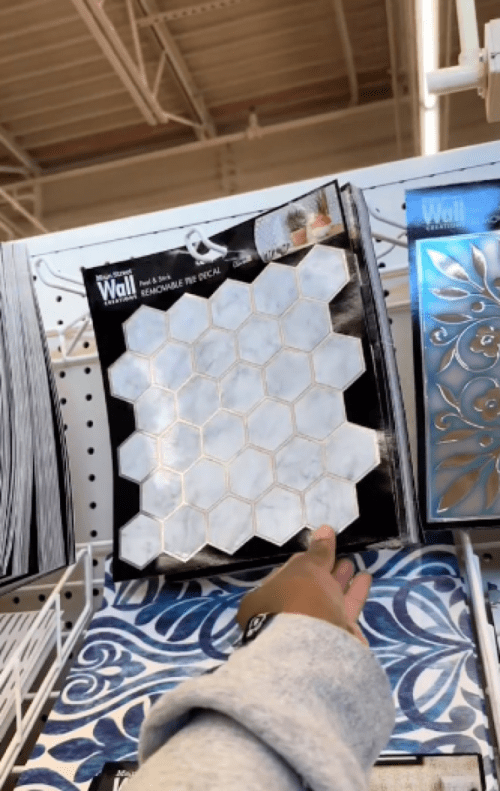
The first step to Love’s Dollar Tree kitchen renovation is picking the tiles you want to use since the retailer carries many different styles of peel-and-stick tiles and wallpaper. In the first half of her TikTok video, Love showed a marble hexagon pattern in the store before she ultimately went with the faux-wood style.
2
Prep your kitchen.

Next, Love prepared her kitchen area for the renovation by cleaning all her counters and walls and wiping them down with alcohol—which she indicated in the comment section could be a crucial step in getting the tiles to stick on securely.
RELATED: Home Depot Shopper Shares $100 Hack to Upgrade Your Kitchen to “Marble.”
3
Cut your tiles.

After you’ve prepped your kitchen, you also need to prep your tiles. To ensure they fit your individual space, you may need to cut them down to fit your backsplash or carve out areas to fit around outlets.
4
Stick them on.

Once you cut the tiles to whatever size you need, the last step is to simply peel off the adhesive and stick them to your wall—and violà! You now have a new, budget-friendly backsplash just like Love.