The Ultimate Checklist for Deep Cleaning Your House (Room by Room!)

It happens to the best of us: You keep up with day-to-day cleaning tasks like sweeping the floors and changing your sheets, but all the nitty-gritty deep cleaning gets put off—until you simply can’t take it anymore. If you’re finally ready to scrub and sanitize room by room, we’ve put together your ultimate deep cleaning checklist. Keep reading for a step-by-step guide for cleaning those often-ignored spots that’ll have your house shiny and spotless in no time.
READ THIS NEXT: 5 Common Cleaning Products That Could Be Hurting Your Health, Experts Say.
Materials you’ll need for deep cleaning
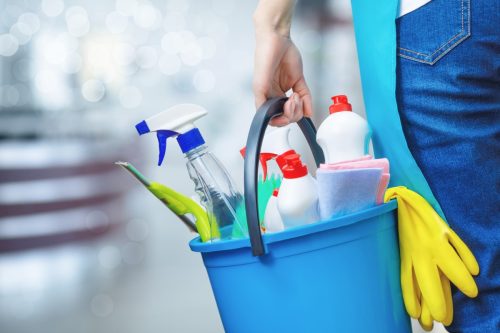
Before you start, make sure you have all the materials you’ll need for deep cleaning on hand. When you have to traipse back to the kitchen every time you need a paper towel, it’s easy to get sidetracked. So gather everything together first! Here’s what you’ll need:
- Bucket
- Microfiber cloths
- Sponges
- Roll of paper towels
- Multipurpose cleaner spray
- Cleaning powder (such as Comet or Bon Ami)
- Duster
- Dusting spray
- Vacuum cleaner
- Broom with dustpan
- Dish soap
- Scrub brush
- Window cleaner
- Baking soda
- Gloves
- Garbage bags
- White vinegar
How to prepare your house for deep cleaning
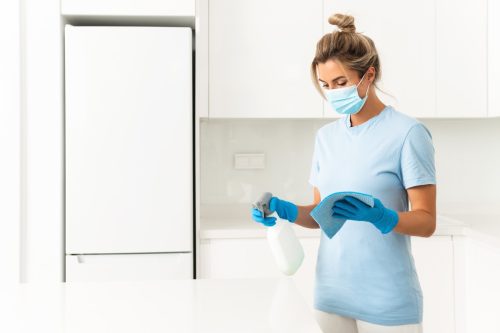
Once you’ve bought and gathered all your materials and supplies, you’ll also want to ready your house for the deep clean that’s coming its way.
First, completely open or crack any windows or doors in the rooms where you’ll be using bleach or ammonia-based cleaning products. Breathing in these chemicals can be hazardous to your health.
Likewise, if you’ll be using any cleaning products or tools that can harm a child or pet, make sure they are safely out of the room.
And finally, get yourself ready! Wear old clothes that you don’t mind getting dirty or stained. And again, if you’re using bleach or ammonia, it’s best to wear gloves and a mask. And might we recommend firing up your favorite playlist?
For more cleaning advice delivered straight to your inbox, sign up for our daily newsletter.
A general deep-cleaning checklist
No matter what room you’re tackling, you can follow this step-by-step guide for all the deep-cleaning basics.
Step 1: Dust surfaces
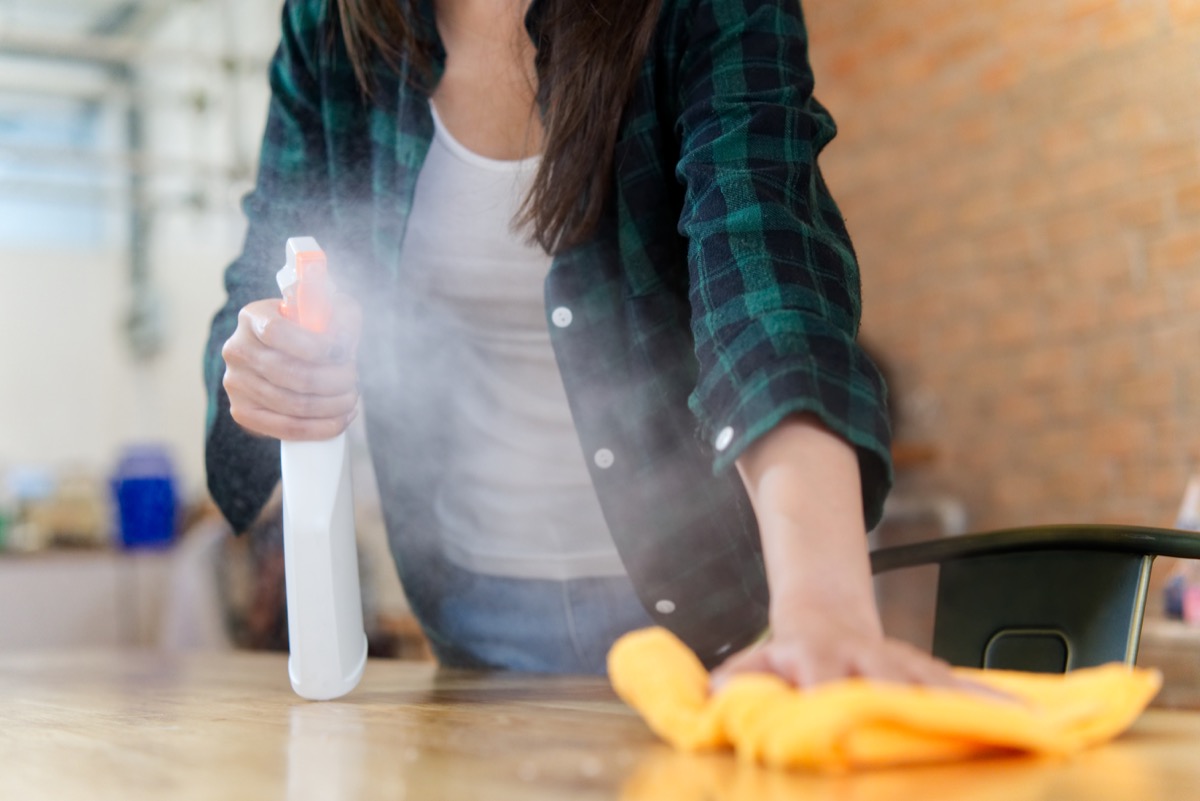
Grab a microfiber cloth and dusting spray. Be sure to hit all tables, desks, and furniture, of course, but also hard-to-reach areas like door frames and ceiling fans. You can also use a feather duster or a Swiffer dry pad.
To get the best results, dust in the afternoon when there’s plenty of natural light, and turn off any artificial lights. This will allow you to see dust more clearly.
Step 2: Vacuum

When it comes to using your vacuum cleaner as part of your deep cleaning routine, you want to start high and end low.
Begin by vacuuming those crevices where the wall meets the ceiling to remove cobwebs and dust. Using the brush attachment, vacuum baseboards to remove excess dust (you’ll clean these bad boys more thoroughly later).
Finally, vacuum any carpets going in one direction and then the other.
Step 3: Clean blinds
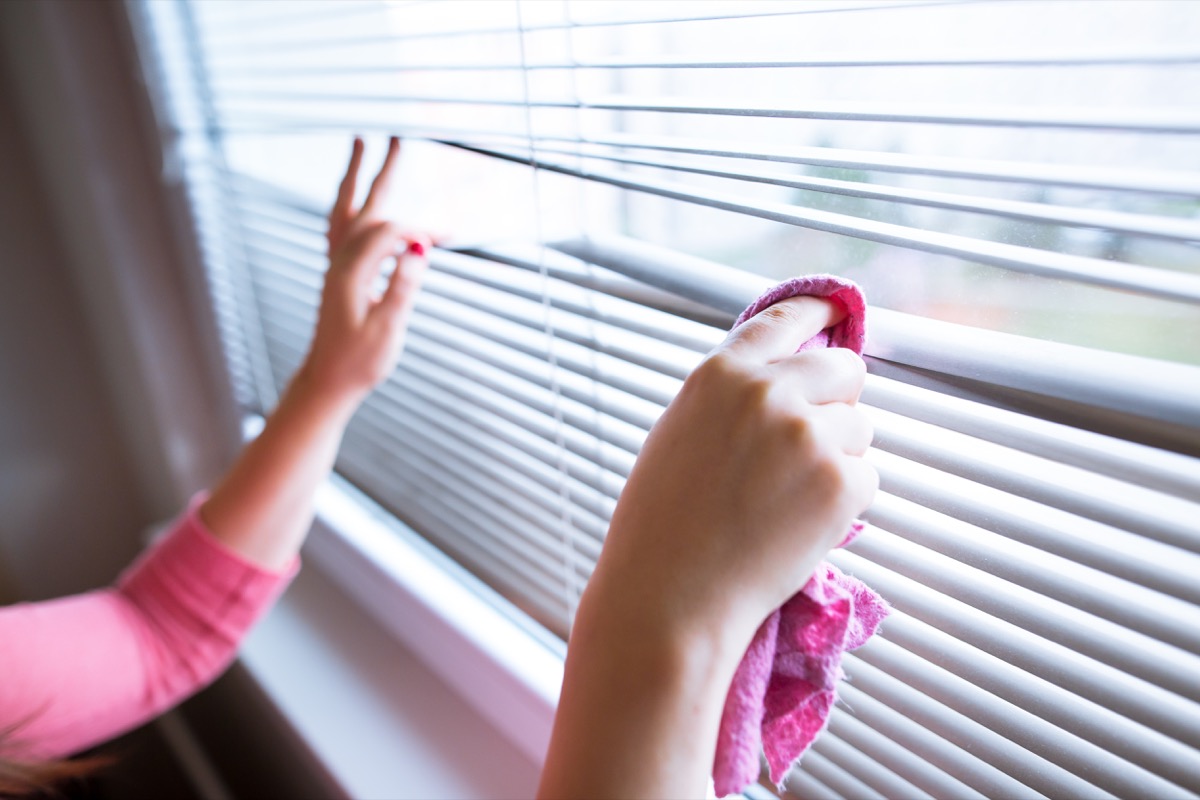
If they’re removable, swish them around in warm, soapy water in the bathtub for a thorough cleanse. If not, spray a gentle cleaner (even a mixture of water and white vinegar works) and clean with a soft, damp cloth.
Step 4: Wash windows

Starting at the top, use an ammonia-based spray cleaner like Windex or your own mixture of water and vinegar. Spray the windows and the windowsill and wipe clean. If you plan on washing the outside of your windows, be sure you’re doing so safely.
Step 5: Clean doors
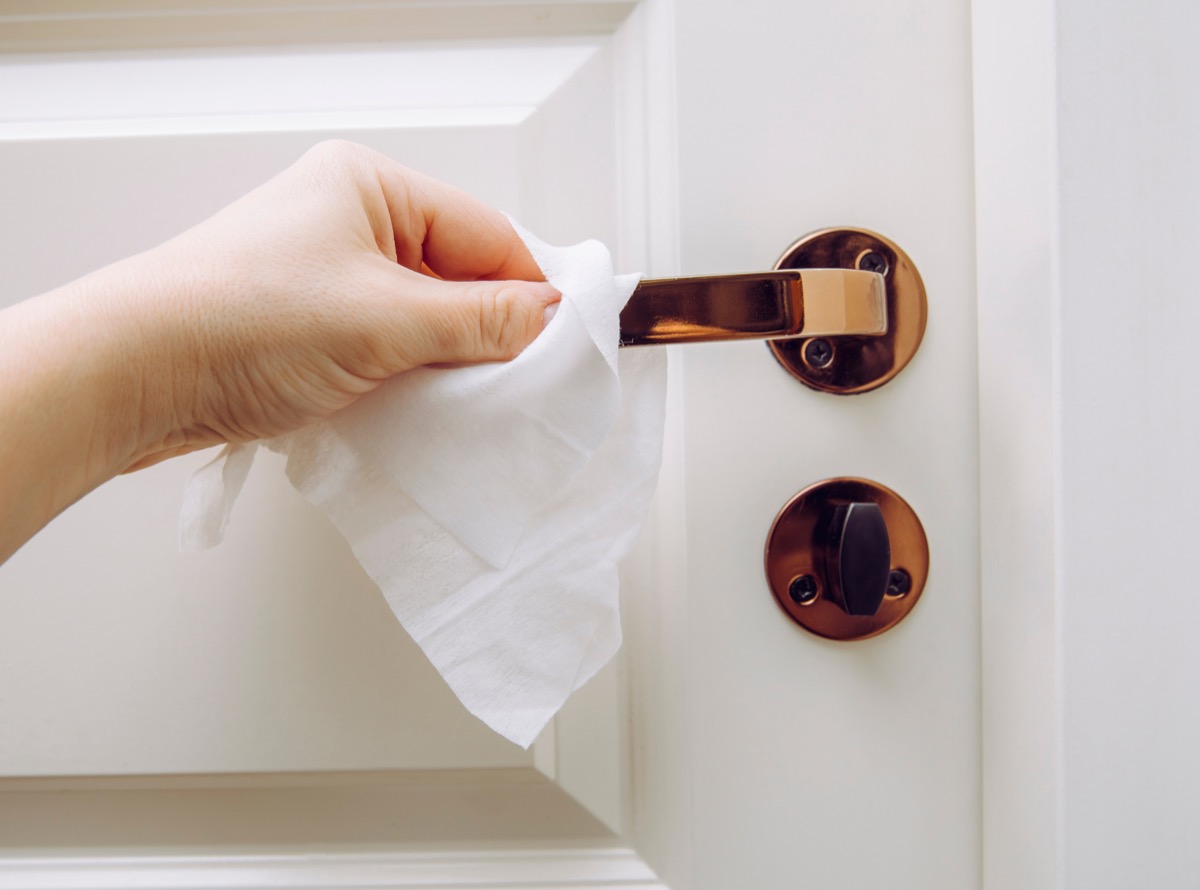
Don’t leave the room without cleaning the last thing you touch—the door. A damp cloth dipped in soapy water should be sufficient, but if you’ve got tough stains and scuffs (read: kids), a magic eraser can be a handy tool.
Step 6: Attack the baseboards
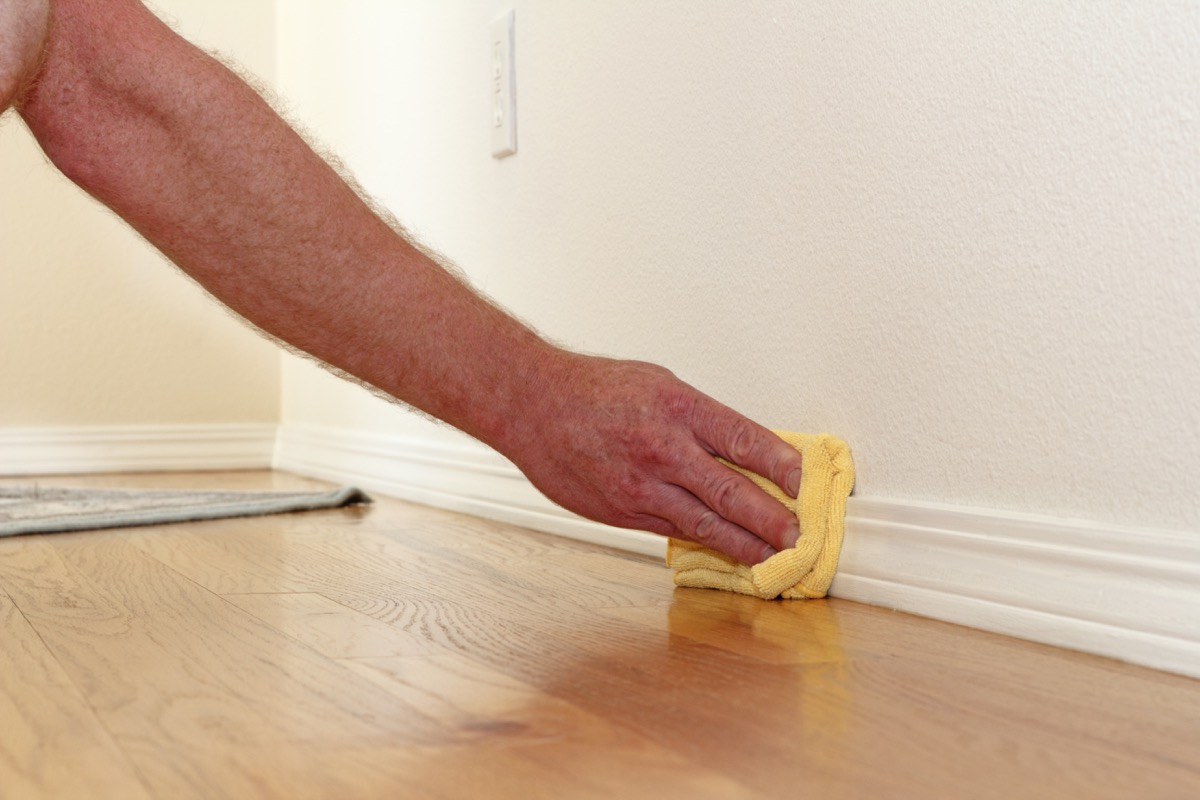
There is a myriad of ways to clean baseboards, so do what works for you. One hack is to use a dryer sheet: It’ll pick up dust and make things smell nice.
If scuff marks are your problem, again, that magic eraser will work, well, magic.
Finally, use a microfiber cloth with warm, soapy water to scrub them clean. If they’re untreated wood, you can also incorporate a wood cleaner. And for those pesky grooves, consider taking a Q-tip or toothbrush to scrub them.
Step 7: Clean carpets
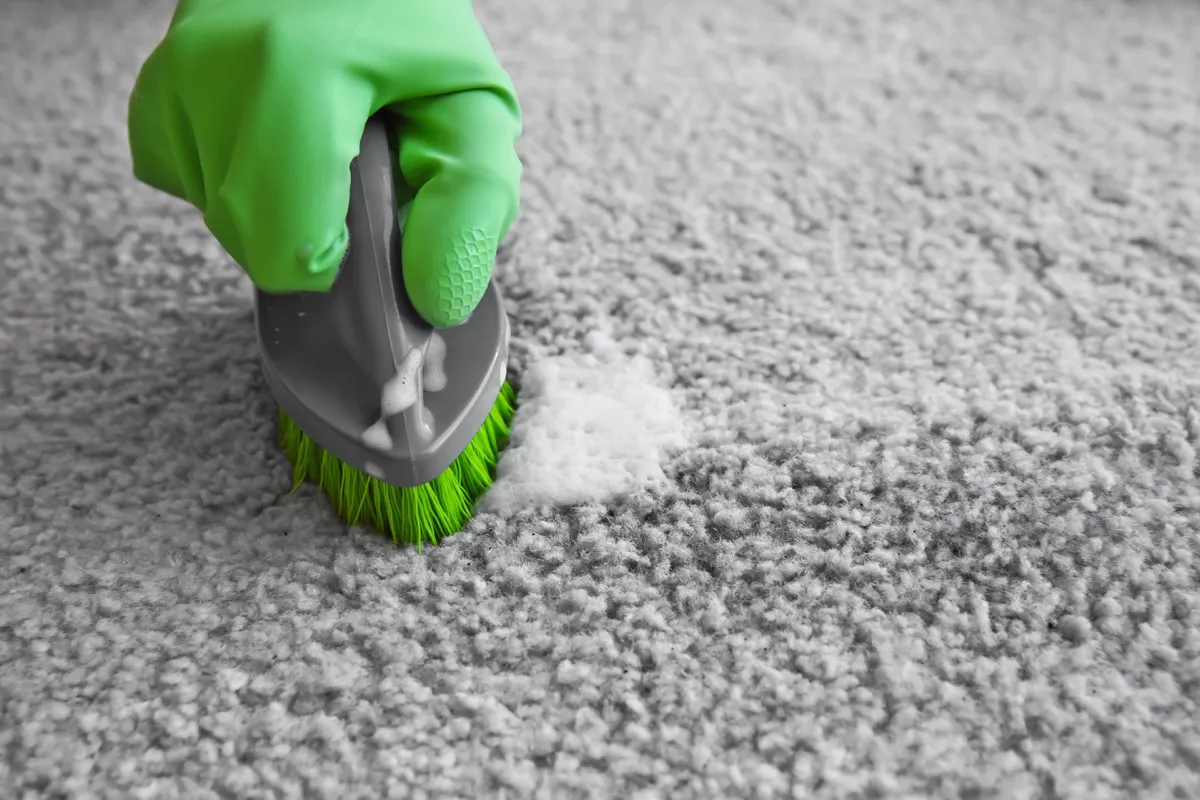
Once you’ve vacuumed thoroughly, it’s time to spot-clean your carpet, if it needs it.
One of our favorite ways to do this is by sprinkling baking soda liberally over the stain, letting it soak in for about 15 minutes, and then pouring some white vinegar on the spot. The foaming action will work to remove even the toughest stains.
Looking for a commercial solution? We haven’t found a stain that Spot Shot can’t handle.
Step 8: Wipe down light fixtures and ceiling fans

Dusting is usually sufficient to get your light fixtures looking new again. But if they’re extra dirty, you can remove the globes or other removable parts and submerge them in warm, soapy water.
For ceiling fans, use warm water and dish soap to clean the blades; do not spray them directly, though.
READ THIS NEXT: 5 Items You Should Never Store in Your Pantry, According to Experts.
Deep cleaning checklist for the kitchen
The kitchen is probably where you spend the vast majority of your time, which means it’s the room that has the potential to get the most cluttered and dirty. Here’s how to deep clean it, step by step:
Step 1: Declutter
Go through the room and pick up everything that doesn’t belong there. You can choose to put it all in its place, collect it all in a box or basket to deal with later, or separate it into piles for each family member to handle.
Whatever you decide, decluttering the kitchen is a non-negotiable first step because it frees up space for the deep cleaning to begin.
Step 2: Do an initial wipedown
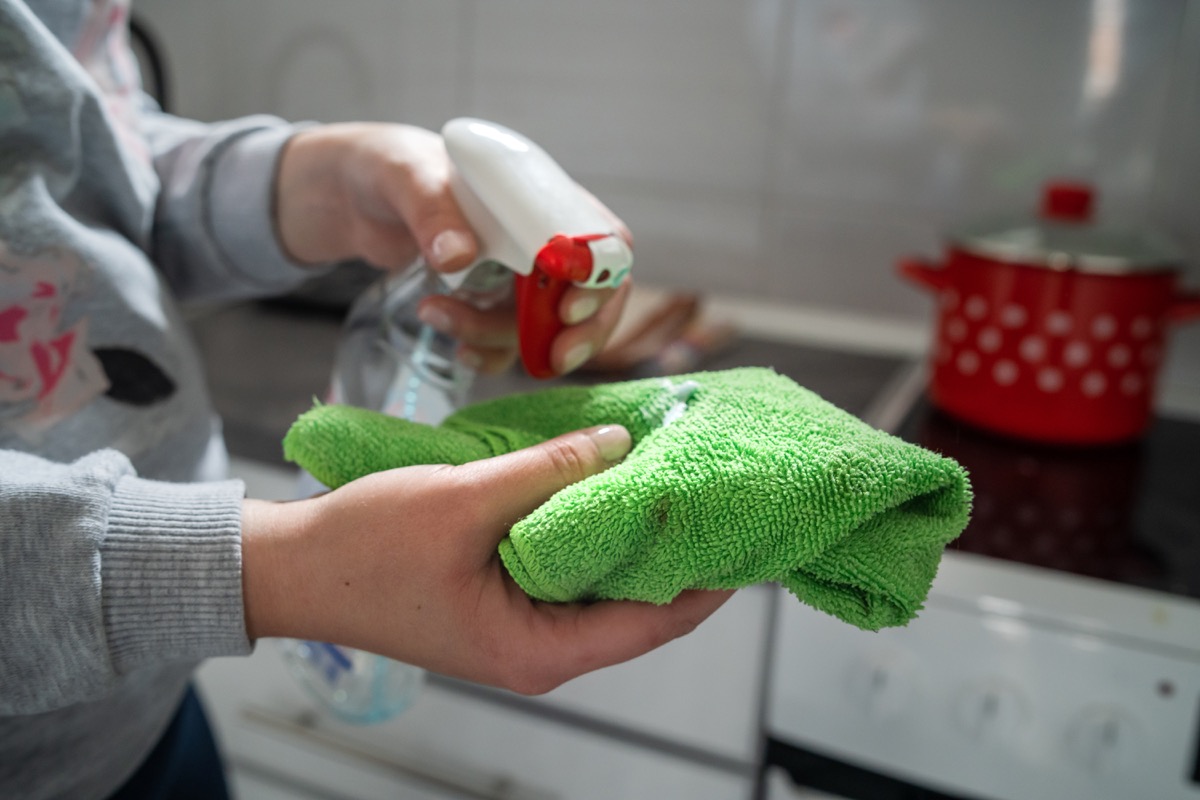
Using a sponge or cloth and warm, soapy water, wipe down the tops of cabinets and the top of your refrigerator. You’ll likely encounter a lot of grimy dust up there, especially if you don’t have a vent hood over your stove.
The dish soap should cut through the grime, but if not, you may need to spray a multipurpose cleaner and scrub to remove it.
Step 3: Wipe down cabinets

Once the tops of the cabinets are clean, it’s time to wipe down the fronts. Grab a new bowl full of warm, soapy water—it’s the best way to clean cabinets of almost any type—and wipe them down to remove dust, grime, and stuck-on food.
Step 4: Clean the refrigerator
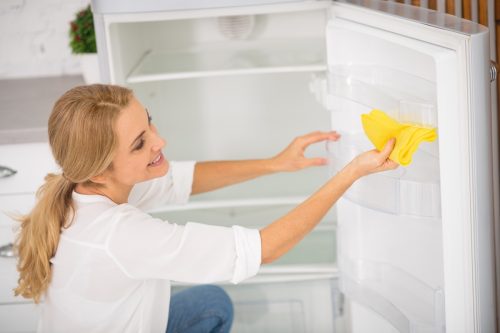
Now it’s time to clean your appliances, starting with the refrigerator.
First, dispose of any expired food. Then, remove everything else you’re keeping and set it aside. To catch crumbs, simply grab your vacuum (with the hose attached) or dust buster.
Then, wipe down the shelves and wash out the drawers with warm soapy water. If they’re removable, you can also soak them in this soapy solution. And if any parts of your fridge are glass, wipe them down with glass cleaner.
Step 5: Clean the dishwasher
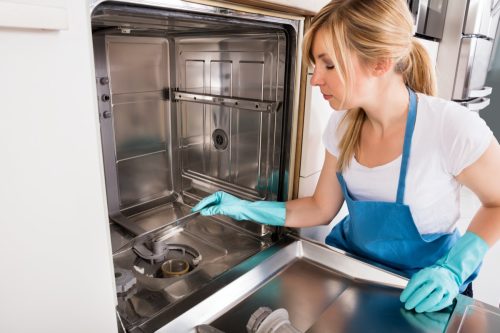
Even though its job is to clean, the dishwasher still needs to be sanitized in its own right.
To clean the dishwasher, first, check the filter and remove any buildup. You can then either use a dishwashing tablet (available at most stores) or a cup of vinegar and run a cycle.
If your machine is smelly, sprinkle baking soda on the bottom and let it sit, closed, overnight. When you’re done with everything, run a final cycle with just hot water.
Step 6: Degrease the stove
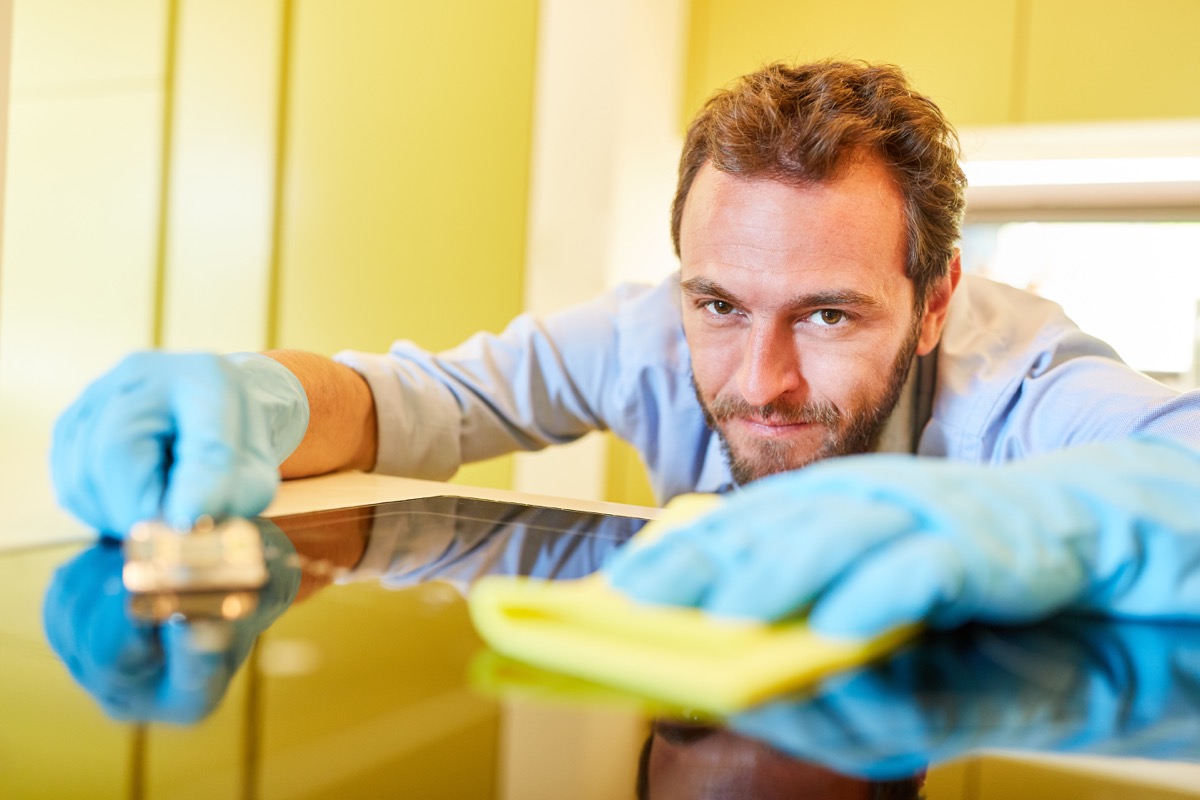
Give your oven and cooktop a good scrub down. Your method for cleaning here will vary based on what type of stove it is, as harsh cleansers can scratch some cooktops. Be sure to consult your owner’s manual and follow their guidelines.
To clean your oven, you’ll need a little bit of baking soda—and a whole lot of elbow grease. Make a paste of baking soda and water and scrub with a sponge to break up tough stains and spots.
It’s advisable to skip pre-made oven cleaners, as they contain a lot of harsh chemicals.
Step 7: Clean the microwave
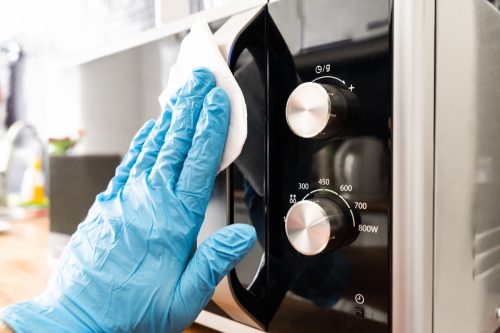
Next, wipe down the inside of the microwave. To loosen the food particles first, microwave a cup of water with lemon for two to three minutes and leave it there. If the glass plate is removable, wash it or run it through the dishwasher.
Step 8: Clean the sink
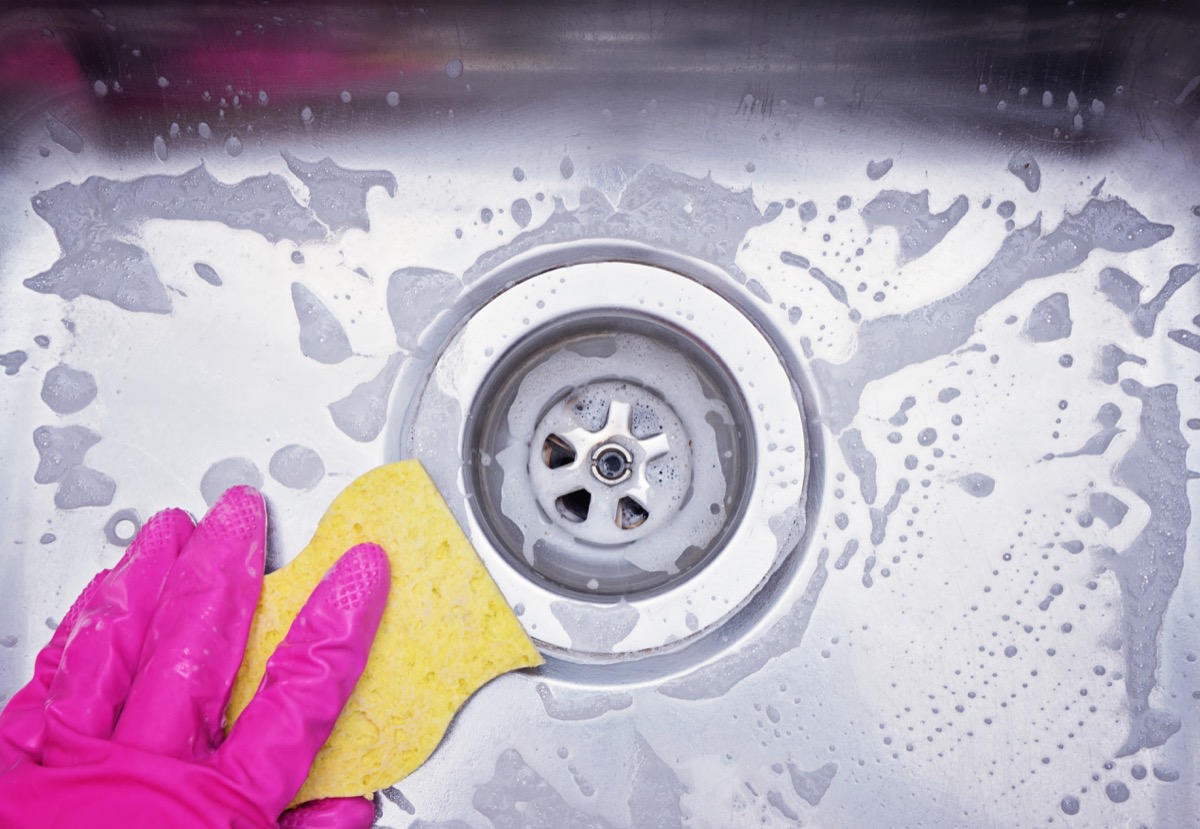
Get your sink gleaming with a spritz of Windex and a good wipe-down. And don’t forget the faucet and fixtures!
Step 9: Clean the garbage disposal
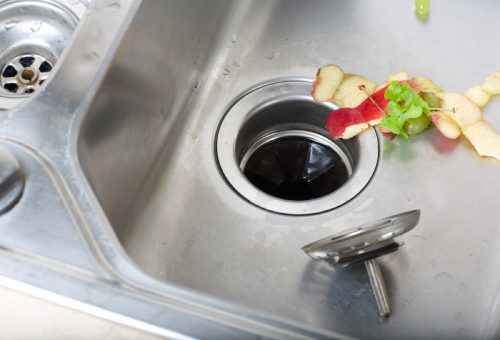
First thing first: Turn off the power to your garbage disposal. Now it’s safe to deep clean it.
Start by using soap and water to scrub the surface. Next, pour a half-cup of baking soda down the disposal. Then, pour a full cup of white vinegar on top of it. Let this sit for 10 minutes.
You can then reconnect the disposal and run it with hot water to flush everything out.
For bonus points—and a yummy-smelling kitchen—toss a lemon slice into your garbage disposal and grind it up.
Step 10: Clean under the fridge and oven
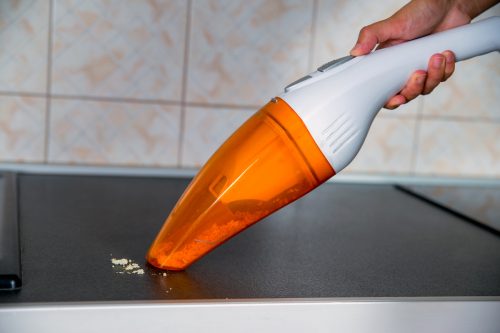
Before you clean the floor, take a long-handled duster and swipe under the fridge and oven to remove built-up dust bunnies, food, and who knows what else. You can also use the narrow hose attachment for your vacuum.
Step 11: Scrub the floors
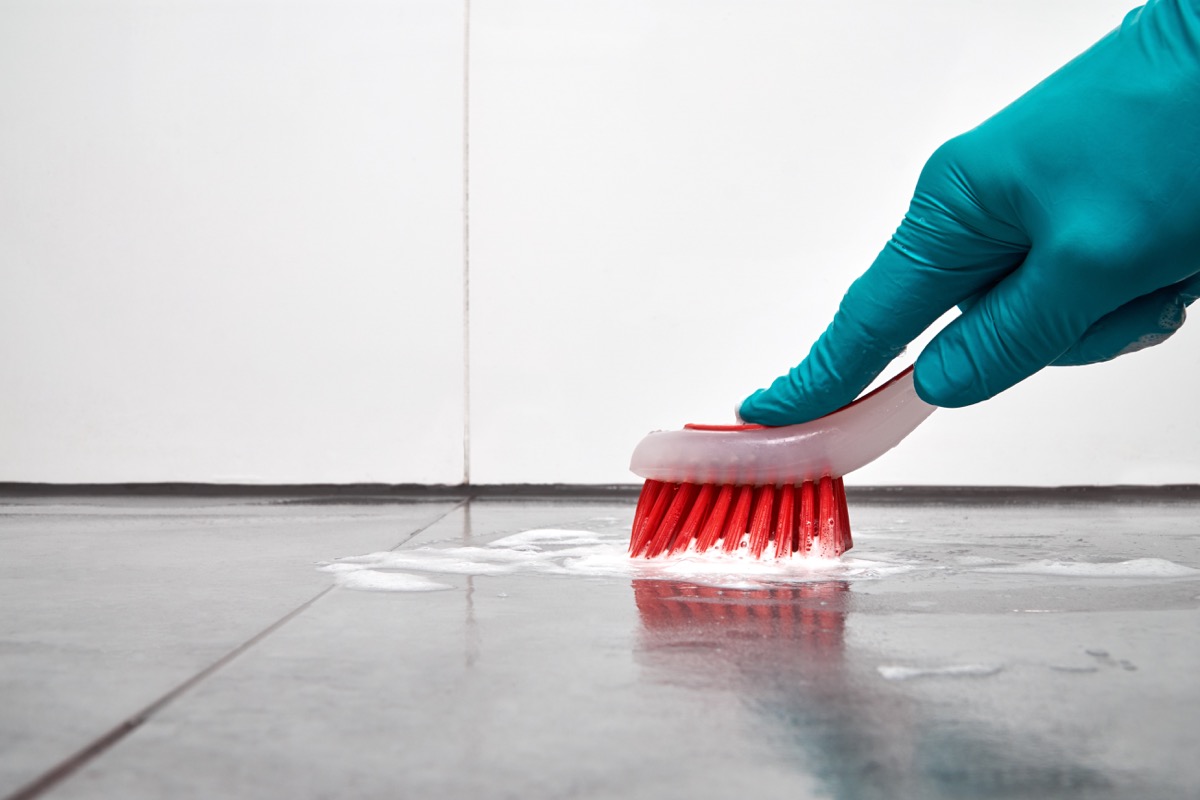
Finally, it’s time to clean the floor. And after all the cleaning you’ve been doing, it’ll really need it. Sweep it first, then scrub it using a cleaner of your choice. If you have a tile floor with grout, use a scrub brush to remove dirt and other grime.
READ THIS NEXT: 50 Clever Home Upgrades That Will Instantly Add Resale Value.
Deep cleaning checklist for the bathroom
The bathroom is another room that definitely needs some extra attention from time to time. Here’s how to deep clean it from top to bottom:
Step 1: Sanitize the sink
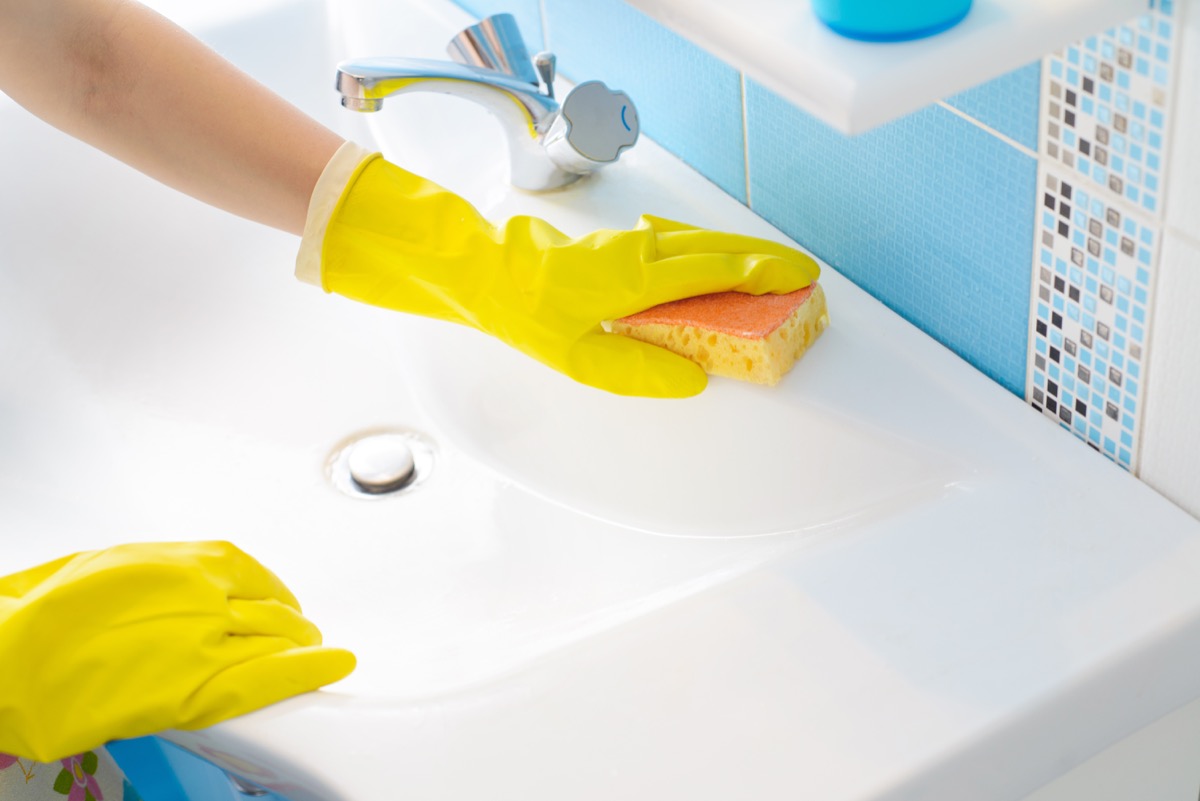
Spray a good multipurpose cleaner and scrub the sink with a sponge. If your sink has a lip around the top, you can use a toothbrush to clean it. Rinse with hot water.
For a fresher sink drain, sprinkle some baking soda down the drain and follow with vinegar for a natural way to break up the gunk.
Step 2: Remove and clean the shower curtain and liner
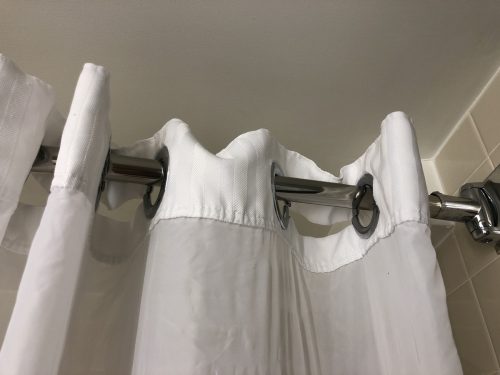
If possible, throw the shower curtain and liner in the washing machine. If not, and if either is covered with mold, you may want to dispose of them.
Otherwise, spray with hot water and white vinegar and rinse clean. You can use a gentle cloth to scrub them, too.
And if the shower curtain hooks are grimy, be sure to scrub them clean, as well. You can soak them in a bowl of hot, soapy water.
Step 3: Clean the shower or tub
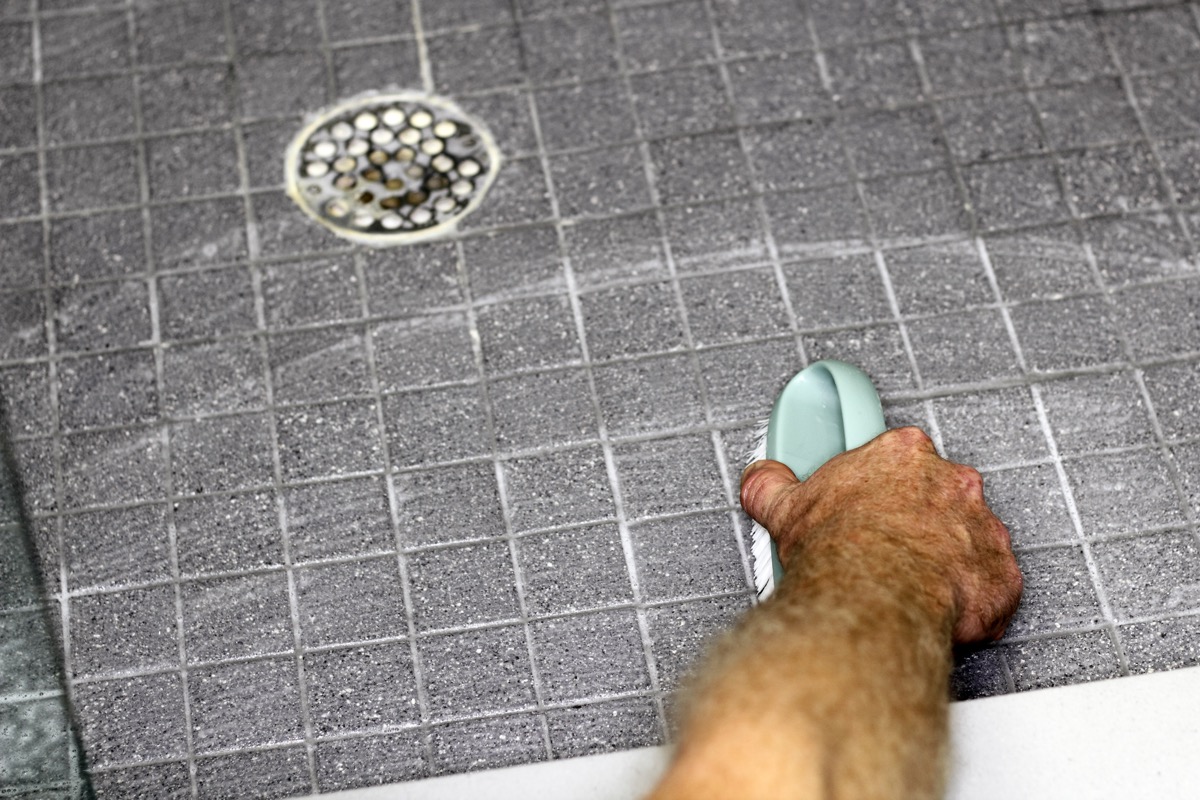
This is a big one. To start, remove everything from the shower. Then, spray a multipurpose cleaner or mix of vinegar and hot water all over the tub and walls. Let it soak for a bit, and then scrub it down. An old dish sponge works well for this.
To clean tile grout or those pesky areas around the hardware, grab an old toothbrush. You can mix equal parts baking soda and water to create a paste that’ll remove soap scum.
When you’re done, you’ll want to be sure to rinse it all. You can also run the shower on hot for a few minutes so the steam helps clear the cleaning products.
If you have a stone or marble shower, be sure you’re not using any abrasive cleaners and check what products are safe for your specific material.
Step 4: Clean the shower head
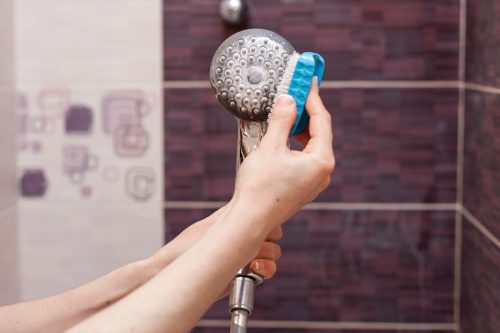
The shower head is something that often gets overlooked in a deep clean, but it’s perhaps one of the gunkiest places in your bathroom.
To clean a shower head, you’ll just need hot water and white vinegar. If your shower head is removable, you can soak it in a bowl of this solution. If not, fill a plastic bag with it and tie it around the shower head so it can soak that way.
Then, scrub it, rinse it, dry it, and reattach it.
Step 5: Clean the toilet
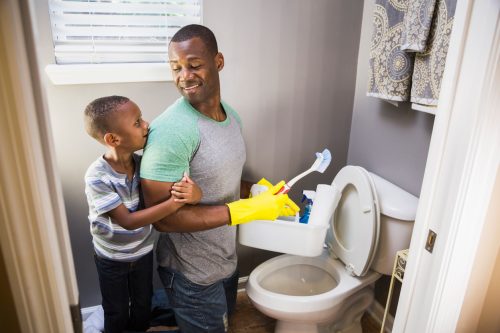
Why clean the toilet last? Because you can use the same sponge you’ve used for the sink and shower, and then toss it when you’re finished. It’s a great way to avoid wasting sponges while ensuring you never accidentally mix them up (yuck!).
For the inside of the bowl, use a toilet brush and cleaning product. The popular brushes with refillable cleaning pads make things even easier.
To get rid of stubborn stains, experts recommend hydrogen peroxide. Just apply, let it sit, scrub, and flush.
And don’t forget to sanitize the base of your toilet, as it’s often one of the dirtiest places in your home.
Step 6: Mop the floor
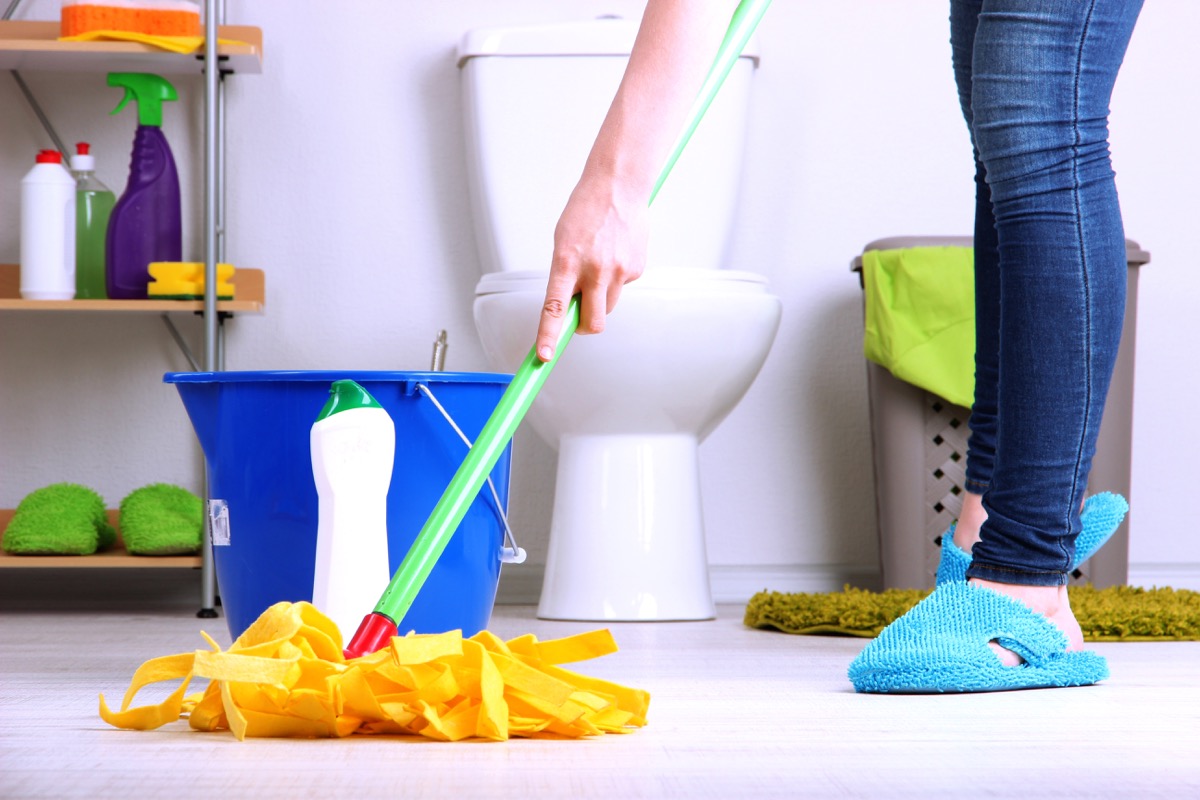
Working top to bottom when you clean is really gratifying since you can look around at your handiwork while you finish up by mopping the floor.
READ THIS NEXT: 21 Ways You’re Washing Your Clothes All Wrong, According to Experts.
Deep cleaning checklist for the laundry room
Whether you have a dedicated laundry room or your washer and dryer are in another room of your house, they’ll need some TLC, too.
Step 1: Clean out washer and dryer filters
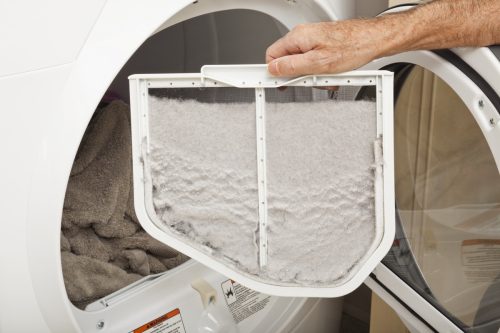
Dryer filters filled with lint are a major fire hazard, so be sure to clean them out. Depending on the setup of your machine, you may need to call in a professional to assist with the disassembly.
Likewise, if your washing machine has a filter, you’ll want to clean that, too, as it can get filled with debris and gunk.
Step 2: Clean the washing machine
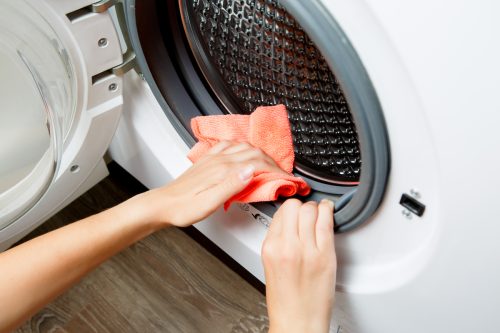
Just because this appliance cleans things, doesn’t mean you don’t also have to clean it. (Before you start, be sure to read the user’s manual for any specific instructions.)
To clean your washing machine, first, wipe down the drawers with soap and water. Then, mix ¼ cup of baking soda with ¼ cup of water and pour that into the detergent dispenser. Then, add four cups of plain white vinegar directly to the tub. Run a cycle on the normal setting with hot water. If the vinegar hasn’t totally washed out, run an additional cycle.
Finally, you can wipe down the exterior of the machine with a warm, soapy cloth.
READ THIS NEXT: 24 Small Ways You’re Making Your Home More Dangerous.
Deep cleaning checklist for the bedroom
Your bedroom is your sanctuary, so don’t neglect it during your deep clean. Just a little bit of extra attention is all it takes to get your private space in tip-top shape. A side bonus? You’ll sleep better—trust us!
Step 1: Strip the bed and wash all linens
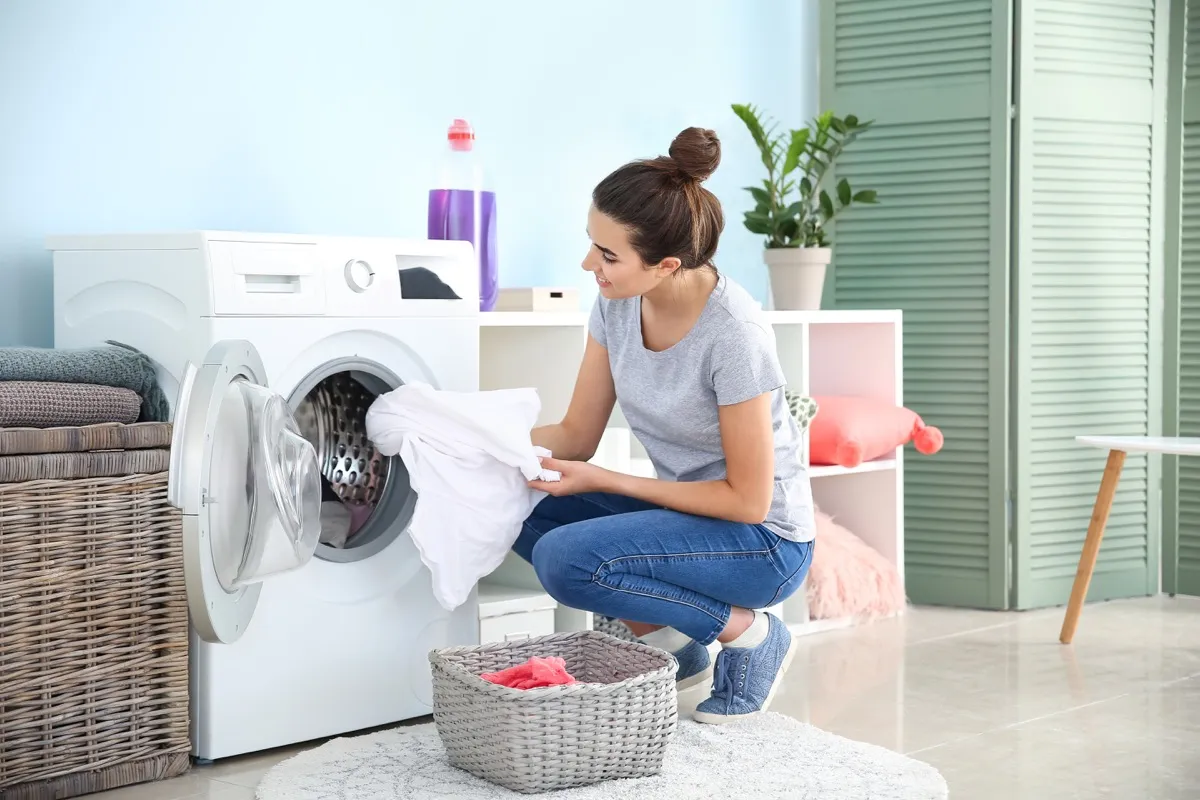
Strip the bed and toss the linens in the wash. It’ll give you the motivation you need to get the rest of the room just as clean, so be sure to do this first.
Step 2: Also clean pillow inserts
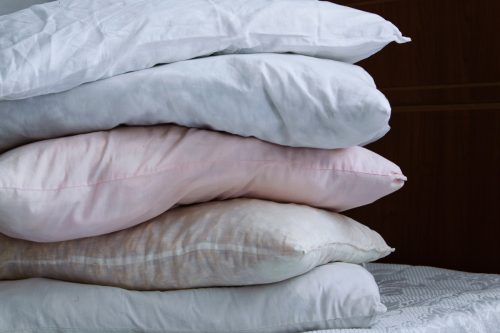
Yes, you’re washing your pillowcases. But you’ll also want to wash the pillows themselves, as they can harbor bacteria and allergens.
Different inserts have different cleaning rules, so follow the instructions on the care label.
Step 3: Deep clean the mattress
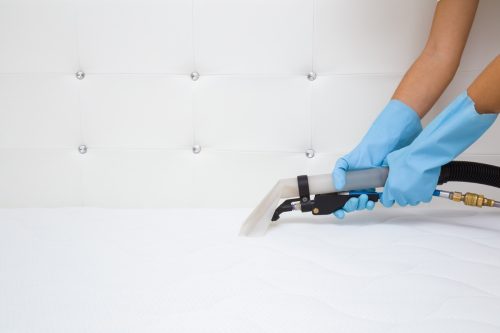
Every so often, it’s a good idea to deep clean your mattress.
Sprinkle baking soda all over, and let it sit for an hour or so. Then, vacuum the entire mattress for a fresher, cleaner bed.
Got stains? Tackle them individually with warm water and just a touch of dish soap or enzyme cleaner.
Step 4: Dust furniture

Remove items like jewelry boxes, perfume bottles, and picture frames before you do a thorough dusting.
Grab a soft cloth and your favorite dusting spray and dust your furniture from top to bottom. Make sure you hit all the little nooks and crannies (don’t forget the top of your headboard!).
Step 5: Clean under the bed
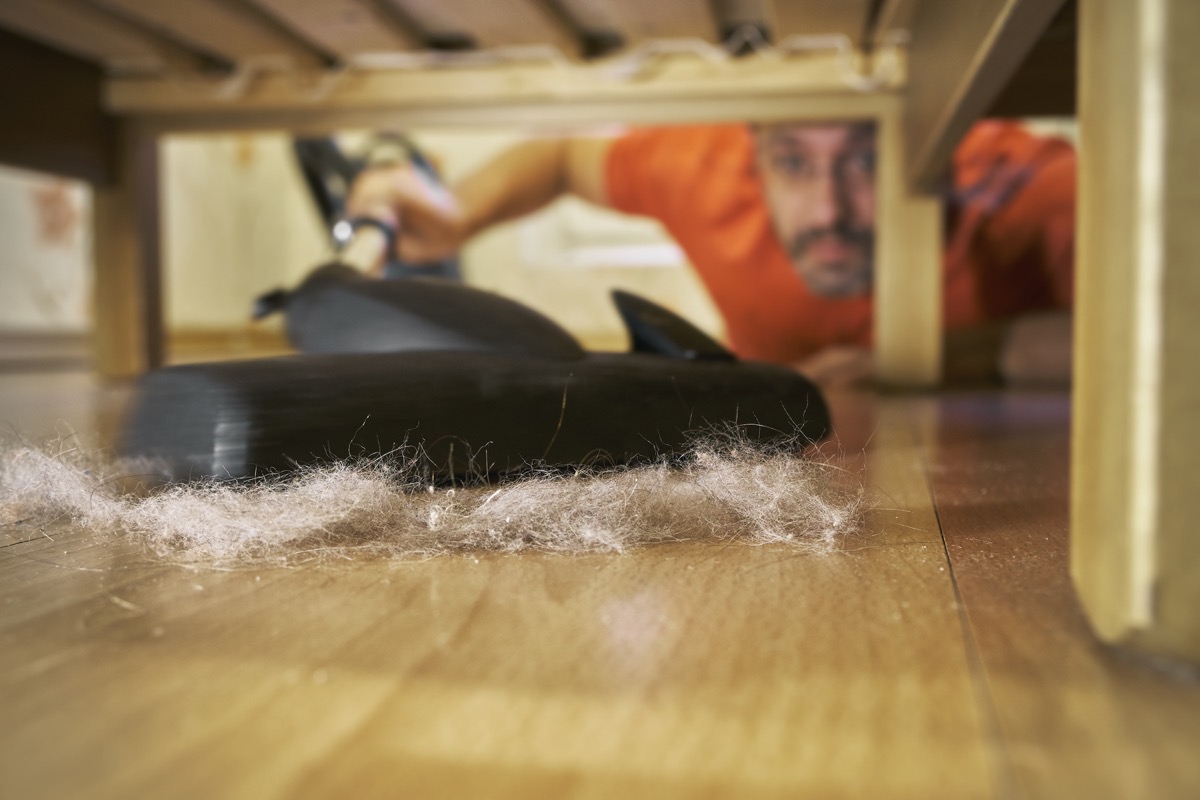
While your mattress is getting fresh, use this opportunity to wipe out all the random junk that’s been hanging out under your bed.
You’ll likely find a ton of dust, and if you have a pet, there’ll be plenty of pet hair, too. Use your vacuum attachment to thoroughly clean under there.
Step 6: Vacuum or mop the floors
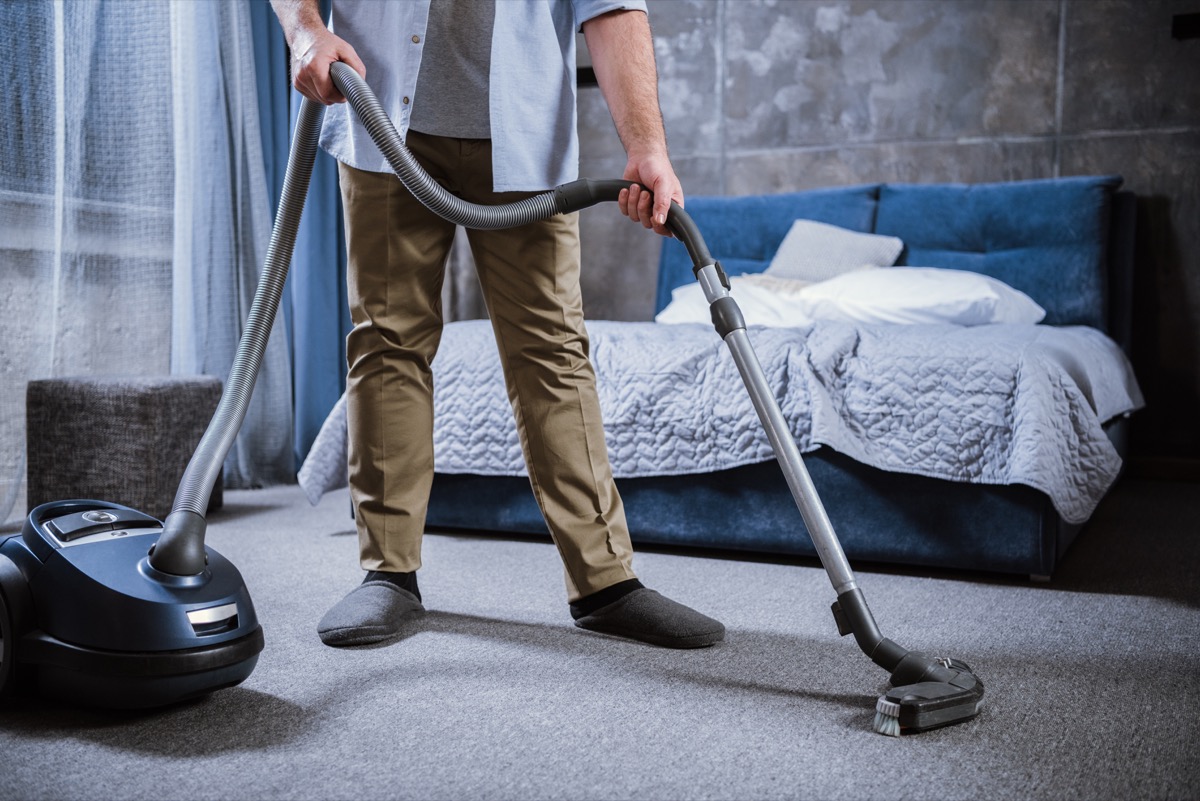
Don’t put the vacuum cleaner away just yet! Run it over your floor to suck up everything that’s settled on it since you started cleaning. If you have hardwood floors, mop them.