Your Ultimate Spring Cleaning Checklist: 32 Tasks You Don’t Want to Forget

Spring isn’t all just sunshine and blooming flowers. It’s also the time of year to make your home spotless, top to bottom. According to the American Cleaning Institute, 80 percent of Americans participate in an annual spring cleaning ritual. However, there are plenty of tasks even the most diligent clean freaks tend to overlook. So, before you break out the cleaning supplies, take note of these important tasks you may be forgetting to do. Read on to hear from experts about what should be on your ultimate spring cleaning checklist.
RELATED: Joanna Gaines Reveals Her 5 Best Spring Cleaning Secrets.
Your Ultimate Spring Cleaning Checklist
1. Wash your walls and baseboards.
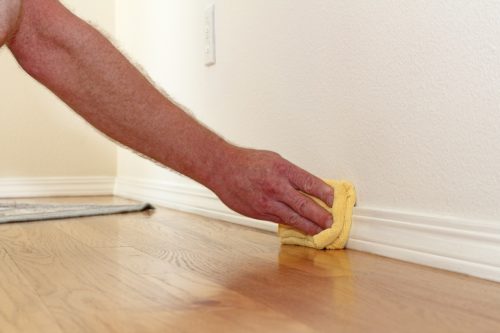
“An often-forgotten part of spring cleaning is washing your walls,” points out Aaron Christensen, resident cleaning expert and vice president of growth at Homeaglow. “Focus on high-traffic areas like kitchens, bathrooms, and mudrooms.”
To do this, he recommends simply using a sponge and a bucket of no-rinse cleaner like Spic and Span. “It is especially important to remove dust and residue around counters and on painted baseboards,” he adds.
As for those dreaded baseboards, Marla Mock, president of Molly Maid, a Neighborly company, recommends first using the brush attachment of your vacuum “to loosen and capture dust.”
Then, “Use a soft-bristled brush to sweep away any dust remaining in the grooves,” she continues. “Next, fill a bucket with a gallon of hot water and a few squirts of dish soap or a cup of vinegar. Use a microfiber cloth and soapy water to wipe down the baseboards. Only work on one small section at a time. Once that section is clean, dry it with a new cloth, and then continue cleaning along the wall.”
2. Wipe down outlet covers.
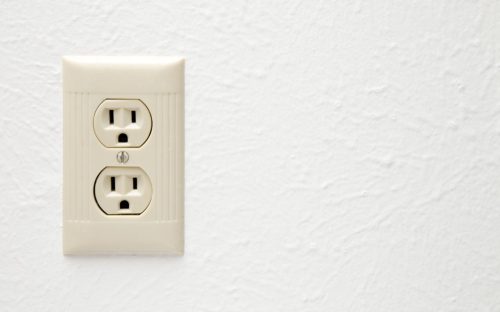
This may seem like an insignificant task, but you’d be amazed how dirty outlet covers can get over the course of a year. That’s why Joel Worthington, president of Mr. Electric, a Neighborly company, recommends cleaning them, “especially in well-used areas like living rooms, kitchens and bathrooms.”
“Cleaning wipes can be used to remove grime and dirt from the outlet covers,” he says.
3. Clean your shower curtain and liner.

While you may scrub your tub from time to time, when you start spring cleaning, it’s time to wash off those shower curtains, too.
“Shower curtains and liners are one of those things most people forget about,” says cleaning expert Marcos Francos. “They should be laundered if possible, thrown away if the liner is riddled with mold, or washed with a disinfectant such as white vinegar. The majority of shower curtains can be cleaned in a normal gentle cycle of your washing machine.”
4. Clean your shower head and hoses.
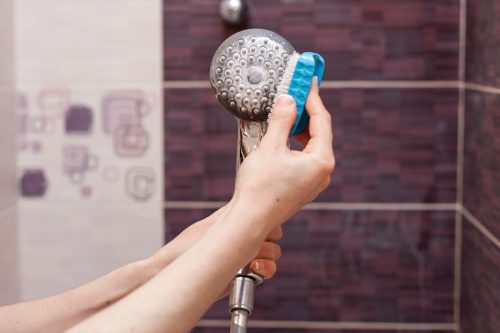
Shower heads can easily develop mineral buildup, as well as soap scum, mildew, and even mold.
To clean your shower head, Bailey Carson, head of cleaning at Handy, previously told Best Life that it’s best to combine equal parts water and white vinegar, as the latter will break up mineral deposits.
If your shower head is removable, you can unscrew it and place it in a bowl of this solution. If not, Carson recommends filling a plastic bag with the solution and tying it around your shower head. Either way, let it soak for a couple hours, then rinse.
If your shower has a flexible hose attached to the shower head, you’ll want to clean that, too. “Look carefully at the braiding of the hose—between those lines, mold often grows and hides,” says Francos.
5. Disinfect the base of your toilet.

The seat, lid, and bowl on your toilet likely get regular TLC, but many people fail to notice how filthy the pedestal underneath their porcelain throne can get.
“I often see this as one of the dirtiest places in a person’s home—polluted with dust and urine,” says Francos. “Mold and mildew love to grow here… Use a multipurpose [cleaner] and a rag to clean these areas, then finish with a dry towel to remove remaining hair and dust.”
6. Scrub all grout and caulk.
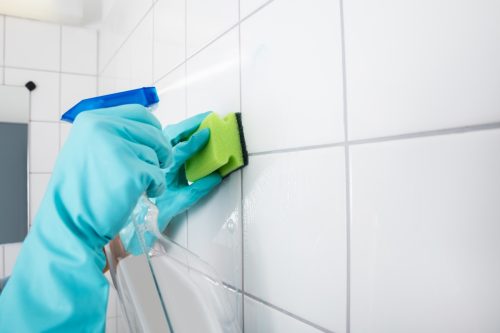
By nature, grout and caulk usually exist where there’s moisture. “It’s important to keep them clean to remove any mold spores or particles that colonies can use for growth,” notes Michael Rubino, a mold and air quality expert and founder of HomeCleanse.
To do this, he says all you’ll need is hydrogen peroxide and microfiber rags. “Spray the hydrogen peroxide on the surface, let it sit for at least 10 minutes, and then wipe with a microfiber towel.”
RELATED: How to Unclog a Toilet (Without a Plunger).
7. Deep clean your fridge.

Think wiping down your fridge is enough to get it properly clean? Think again.
Francos says you’ll first want to empty out your fridge and vacuum up any crumbs. Then, pull out any drawers and wash them in the sink with dish soap and hot water, and use a rag with water and dish soap to wipe down the inside. Clean any glass with glass cleaner, and you’re good to go!
For those seeking a quicker option, Francos recommends a steam cleaner. “Steam and wipe—it is very fast and easy.”
8. Deep clean your stove.

That splattered lasagna you never wiped up, the French fry that escaped into the coils—when spring rolls around, it’s time to clean all that up.
“For some ovens, you can run an automatic cleaning cycle. This produces a lot of heat and melts the mess inside your oven into ashes. With this, you will have to vacuum and then wipe out what is left,” says Francos.
Even better, however, is cleaning it with a steamer. “There are no dangerous chemicals, and they even do a better job” than traditional oven-cleaning methods, he says.
9. Clean your dishwasher.
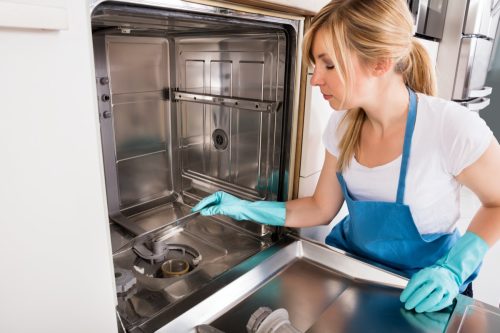
Yes, soap and hot water are running through your dishwasher constantly, but debris can still get caught in the filter, or all that residual moisture can lead to some foul odors and soap scum.
One easy option to clean your dishwasher is to use a dishwasher cleaning tablet. Or, to get rid of odors and soap scum, you can first let a cup of baking soda sit at the bottom of the machine overnight. Then, run a cycle with a cup of vinegar. From there, run a final empty cycle on hot water to ensure all the cleaning products have filtered through.
10. Run a clean cycle on your garbage disposal.
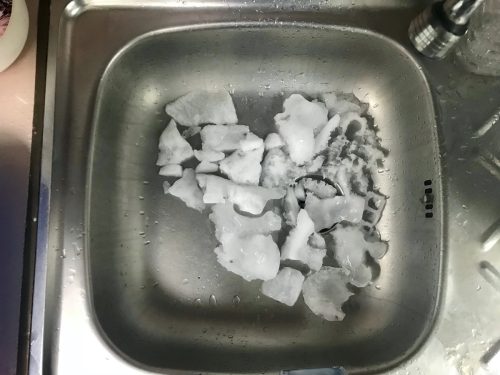
“I think a cleaning method that has always surprised people is using ice to clean their garbage disposal,” Ron Shimek, president of Mr. Appliance, a Neighborly company, tells Best Life.
“After running your disposal for 30 seconds to make sure it’s clear, turn it off and pour in two cups of ice, one tablespoon of Kosher salt, and one tablespoon of Lemon or lime juice,” he instructs. “When you turn the disposal on, it will first be a little noisy but calm down to an even hum. After running for a minute like that, turn your faucet on, and you will hear the sound change again.”
“It only takes a minute or so; the ice is gone, and your disposer is clean and smelling fresh,” he notes.
11. Vacuum and mop under and behind major appliances.
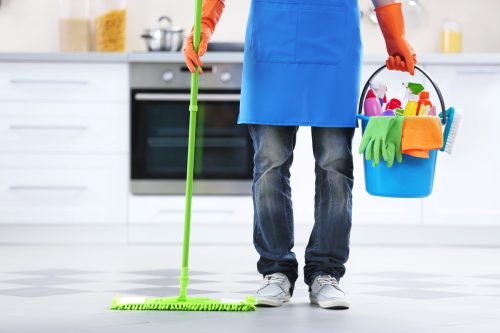
While you may give a cursory sweep under your stove or fridge when you’re cleaning the kitchen, odds are you’re not actually moving those appliances away from the wall to vacuum and mop underneath and behind them—but you should be.
“If you can pull these items out without scratching your floors, I highly recommend you do so,” says Francos. “You will be amazed by the amount of things under them.”
“These areas can get really nasty over time with dust, grime, and food scraps that can impact how well the appliance is working,” agrees Bree Steele, an interior designer and the trade accounts manager at RJ Living.
Plus, this type of debris can attract insects and rodents.
If you’re not able to move your appliances, cleaning influencer Jill Koch (@jillcomesclean) recommends this under-appliance microfiber duster.
12. Vacuum your furniture.

The floor and rugs around your furniture likely get a good cleaning on a regular basis, but many people forget to give their upholstered furniture the same kind of attention.
“Make sure you use a crevice device on your vacuum to get in those hard-to-reach places, remove all pillows, and vacuum underneath and behind them,” suggests Francos.
RELATED: 13 Worst Items to Store in Your Pantry.
13. Wipe down behind your TV.

The top of your TV? Dusted once a week (if you’re good). Behind it? Well, that’s a different story.
“Electricity is a magnet for dust and you will find large amounts of dust behind your television and electronics,” says Francos.
“Make sure to dust and vacuum these locations very well and wipe your electronics with a microfiber cloth,” he advises. “Not only will your home be free of even more dust and allergens, but your electronic devices will have a longer lifespan since dust is often the cause of electronics malfunctions.”
14. Flip your mattress.
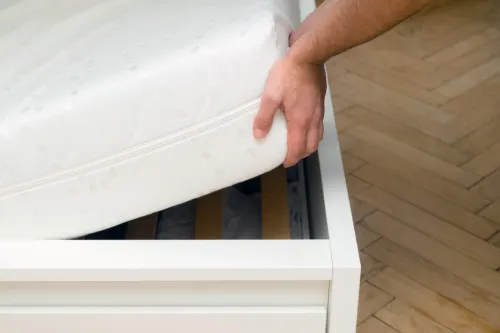
Your sheets get washed on a regular basis, but when was the last time you cleaned your mattress?
“Mattresses can often become homes for harmful microbial growth if steps aren’t taken to properly clean and take care of them,” cautions Rubino.
“To prevent this, take everything off the mattress, HEPA vacuum it, and flip it to the opposite side (check with the manufacturer’s recommendations on if this is possible or other ways to introduce air),” he advises. “This process aerates the mattress, which prevents moisture buildup and removes any particles that have made their way onto the surface.”
15. Clean your washing machine.
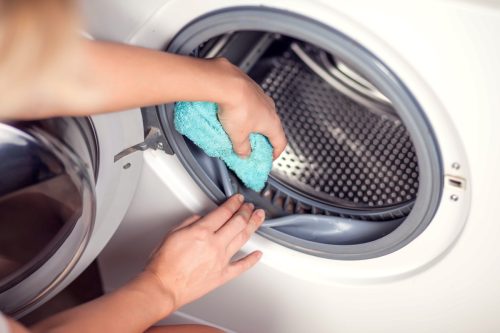
Just because its function is to wash, doesn’t mean the washing machine stays clean.
Shimek says one easy way to clean it is to buy a product made especially for this. “Most are tablets that can quickly be dropped in and run with an empty cycle.”
If you’re looking for a natural way to clean your washing machine, he recommends mixing ¼ cup of baking soda with a ¼ cup of water and pouring that into the detergent dispenser. Then, add four cups of plain white vinegar right into the tub.
“Vinegar loosens the detergent and hard water buildup and lets the washer rinse clean,” he explains. Run the washer empty on a heavy-duty cycle.
16. Clean your dryer.
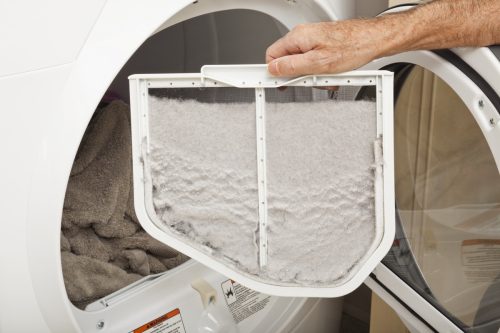
Not cleaning your dryer can be a potential fire hazard as lint accumulates.
“The buildup of lint or other debris blocking the vent can cause bacteria growth or harmful gasses to form like carbon monoxide,” Jason Kapica, president of Dryer Vent Wizard, previously told Best Life.
But to clean more than just the lint trap, you’ll want to call in an appliance professional since the machine needs to be disassembled.
“With the dryer vent, it’s more the tools a professional [has] at their disposal that allows them to get into all the curves and bends of the venting system and make sure all the lint is removed without harming your venting,” explains Shimek.
17. Wash porous items with a botanical laundry additive.
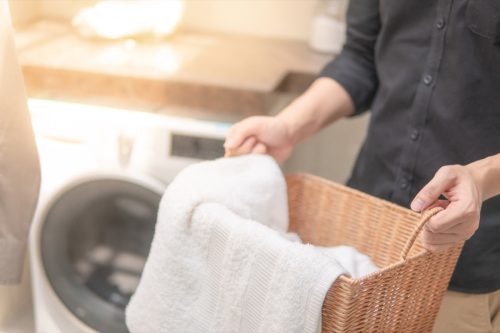
Bathmats, mattress pads, towels, bedding—you probably wash these regularly. But your day-to-day detergent may not be doing enough to properly clean them.
“Porous items are particularly difficult to clean because microscopic particles like pollen can settle within the fibers of the surface,” explains Rubino. “Using a botanical laundry additive can help remove microscopic particles from the surface so they don’t continue to build up and become airborne when the surface is disturbed.”
18. Disinfect high-touch surfaces.
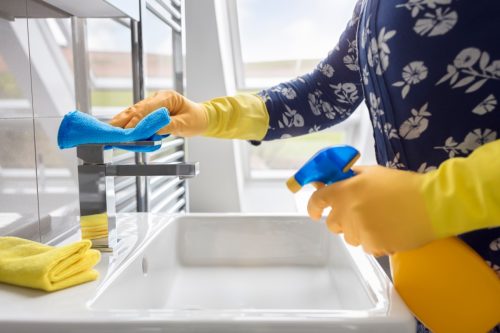
Spring doesn’t mean the end of cold, flu, and Covid season, so it’s a great time to clean and disinfect high-touch surfaces, says Armeka Townsend, a cleaning expert at Zep Inc.
Doorknobs, light switches, remote controls, and countertops, can be hotspots for germs, Townsend notes, adding that you’ll also want to disinfect less-obvious high-touch surfaces like appliance handles, banisters, and faucet handles.
“Use a disinfectant spray or wipe to clean these surfaces, following the product’s instructions for proper dwell time to ensure maximum germ removal.”
RELATED: 11 Things You Should Put Away When Guests Come Over, Experts Say.
19. Dust your doorframes.
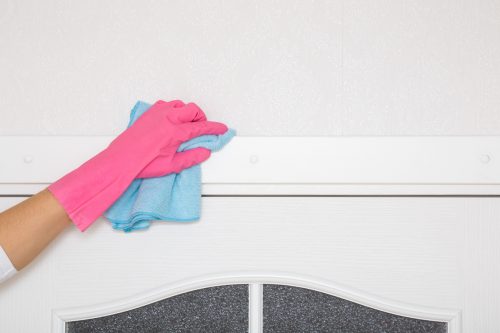
The tops of your tables, bookcases, and light fixtures may get the occasional dusting, but you might be neglecting those doorframes, which are veritable magnets for dust.
“Get a step stool for this job. Use a microfiber cloth and Pledge and get dusting,” says Francos. “Make sure you get the top of the door and both sides of the door. Next, do all the trim around the door—especially the top. This usually will turn your microfiber rag brown with dust.”
20. Vacuum your lampshades.

A little dusting and vacuuming around your lampshades can go a long way toward making your home cleaner this spring.
“Using a microfiber cloth is often good enough to get your lampshade clean,” says Francos. “For those who need more than that, use a vacuum hose with the dusting attachment—the circle attachment with the long hairs.”
And for anything the vacuum won’t pick up, a lint roller will do the trick.
21. Clean your ceiling fans.
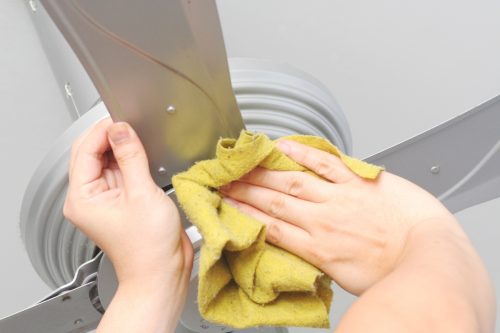
“When was the last time you gave your ceiling fans some love?” asks Tina Priestly, owner and CEO of Ready, Set, Refresh. “Those things are like dust magnets, silently collecting grime while you sleep.”
A standard duster will certainly work here (just be careful if you’re standing on a ladder!), but the long handle of the under-appliance microfiber duster will make this chore even simpler.
22. Vacuum your cabinets and drawers.
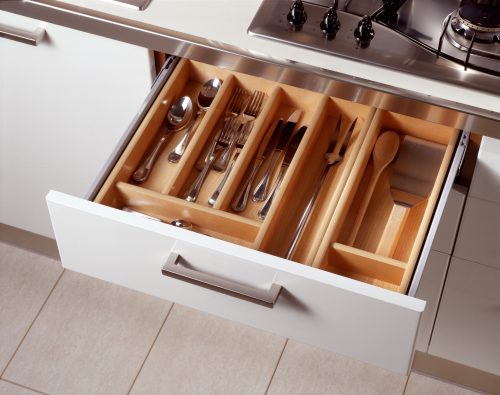
Crumbs, dirt, hair, and dust can create a mess inside your cabinets and drawers—and spring is the perfect time to tackle that often-overlooked layer of grime.
“Empty each drawer in your kitchen, bathroom, and bedroom one at a time,” suggests Mock. “Use a hand vacuum to remove any little crumbs or dust. Then, use a damp cloth with warm water to wipe down the inside and outside of the drawer for a thorough clean. Allow the drawer to dry before replacing the contents.”
This is also a great time to de-clutter and organize said drawers!
23. Launder your curtains.

You vacuum and spot-clean your rugs, but when was the last time your curtains got a thorough cleaning?
Francos recommends laundering or dry cleaning your curtains when you’re doing a top-to-bottom cleaning of your home. “Lots of dust builds up through the year—or years.”
24. Wash your windows.
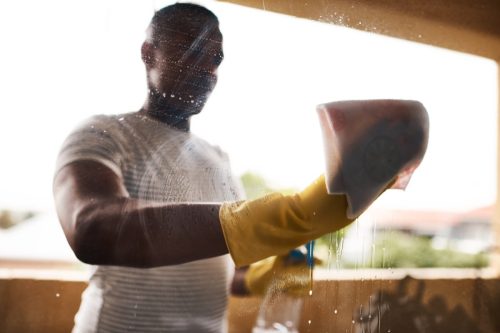
This might sound like an obvious task, but if you’re going to take the time to wipe down every window in your house, you’ll want to make sure you’re doing it most effectively.
“It’s important not to clean windows, specifically the glass, when exposed to direct sunlight. The sun will warm the glass, causing the soap solution to streak,” explains Steve Arnone, manager of product services at Marvin.
“For best results, clean when windows are in the shade, and work from top to bottom if you live in a multi-story home.”
Arnone also recommends starting with the outside of windows “because it allows you to catch and clean up any water that may have snuck inside.”
RELATED: Cleaning Pro Reveals the 5 Things You Should Never Vacuum.
25. And your window frames and tracks.
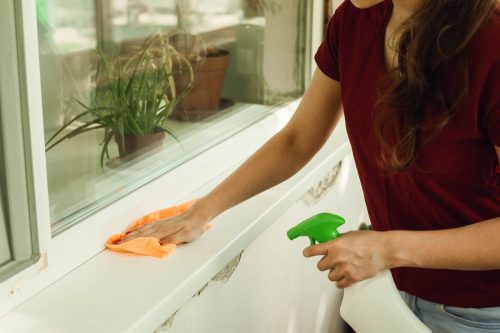
In addition to washing the glass on your windows, be sure you’re cleaning the tracks and the frames—”which tend to get dirty with dirt and debris over time,” notes Steele.
“The easiest way to clean this out is with a vacuum (with a brush attachment if you have one) to get rid of the dirt,” she recommends.
For tough-to-reach window tracks (as well as sliding glass door tracks), use an old toothbrush “to dislodge the rest of the dirt,” suggests Mock. “If necessary, sprinkle the tracks with a light dusting of baking soda, spritz with a mixture of vinegar and water, and leave for five minutes. Wipe up the solution and grime with a clean rag or paper towel.”
26. Replace the batteries in smoke detectors.
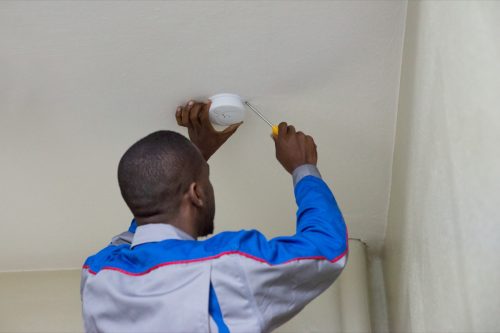
Not all spring cleaning tasks have to be about getting your home spick-and-span—some are about making it safer, too.
You should test and replace the batteries in your smoke detectors every six months, so make it part of your spring cleaning routine and leave yourself a note to do it again in the fall.
If you have separate carbon monoxide detectors, change those batteries, too.
27. Have your chimney cleaned.

That creosote buildup in your chimney could be putting your home and family at risk. If you’re doing a major cleaning push this spring, make sure to have a professional come and sweep your chimney to reduce your risk of a house fire and carbon monoxide poisoning.
28. Change air conditioner filters.
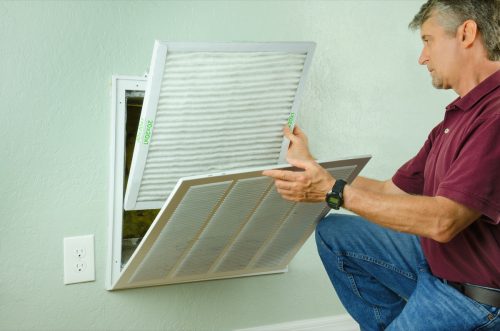
“Air filters are the first line of defense both for the HVAC system and your indoor air,” explains Rubino. “These barriers help eliminate particles so that they don’t continue to circulate throughout the indoor space. It also helps remove them before they reach the HVAC, which can help avoid microbial growth in the unit itself.”
Jennifer Gregory, brand manager of Molly Maid, recommends changing furnace and air conditioner filters every three to six months in a pet-free home. “If you have pets or if members of your household suffer from allergies, change them every two months.”
29. Clean exhaust fans.
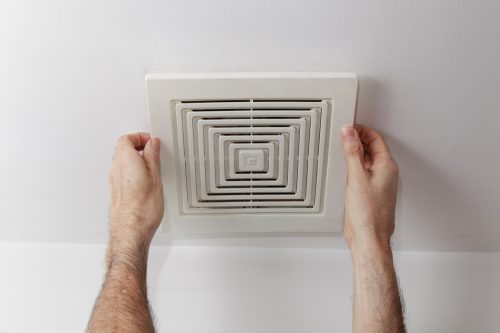
Another way to maintain indoor air quality is to clean often-overlooked exhaust fans.
“Vacuum the bathroom exhaust fan with your vacuum cleaner’s brush attachment,” suggests Jack White, senior director of technical operations at Rainbow Restoration, a Neighborly Company.
Next, remove the filter from your kitchen exhaust fan “and soak it in hot water and ammonia for an hour,” White advises. “Wearing rubber gloves and a mask, scrub and rinse the filter. Leave it out to dry completely before installing it back in the vent hood.”
Hot water and vinegar is another option if you’d prefer a natural cleaner.
30. Check your gutters.
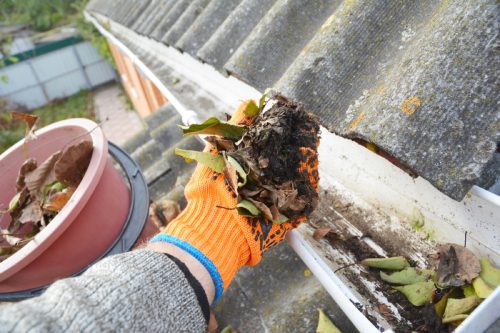
Spring cleaning doesn’t end with your house’s interior spaces. The exterior has probably been more neglected, having experienced “wear and tear in the winter months from storms, snow, wind, and accompanying debris,” points out Courtney Klosterman, home insights expert at Hippo home insurance group.
That’s why she says it’s a good idea to “check your gutters, downspouts, and nearby storm drains for blockages and signs of damage to help prevent pooling water and related structural damage.”
“Clear debris, replace broken parts, and, if your city maintains nearby storm drains, contact your city’s appropriate office to address storm drain maintenance or drainage issues,” she recommends. And be sure downspouts are directing stormwater away from the home toward storm drains.
RELATED: 10 Surprising Things You Can Clean With a Magic Eraser, Experts Say.
31. Clean up your yard.

Sure, you may have summer plans to update your landscaping, but you’ll want to clean up your yard before that time comes.
“Rake your lawn and remove dead leaves, weeds, branches, and other debris that could impede your lawn’s growth,” advises Klosterman. “A clean and healthy lawn can also help prevent damage from critters.”
She also recommends trimming any broken or dead tree branches and pruning limbs that may be close to your home “to help prevent water runoff or damage during spring storms.”
“Contact a certified arborist if you have a leaning tree, extensive decay, or notice other concerning damage that may lead to your tree falling over,” she adds.
32. Don’t forget to actually create your checklist!
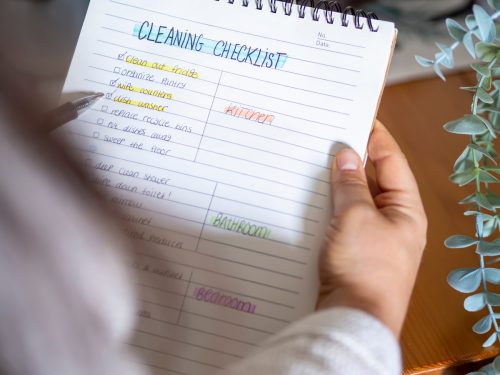
Shantae Duckworth, professional organizer and founder of Shantaeize Your Space, says her number-one spring cleaning tip is to create an action plan that works for you.
“Simply put, a plan without a goal is most likely not going to happen,” she notes. “If you were taking on a larger project as in a garage organization, an attic cleaning, or even just spring cleaning the kitchen, it’s really important to break it down into smaller areas and create an action plan for those small areas,” she says. “This will really help you from getting overwhelmed!”
Simple pen and paper work well, but Duckworth recommends putting your action plan in the notes section of your phone and checking off tasks as you go. She says another way to set yourself up for success is blocking out time on your calendar to complete these spring cleaning tasks.
“These areas you are cleaning did not become disorganized in one day, and it is going to take more than one day for it to get fully organized, so keep that in your mind while you’re going through your spring cleaning process,” she adds.
This story has been updated to include additional entries, fact-checking, and copy-editing.